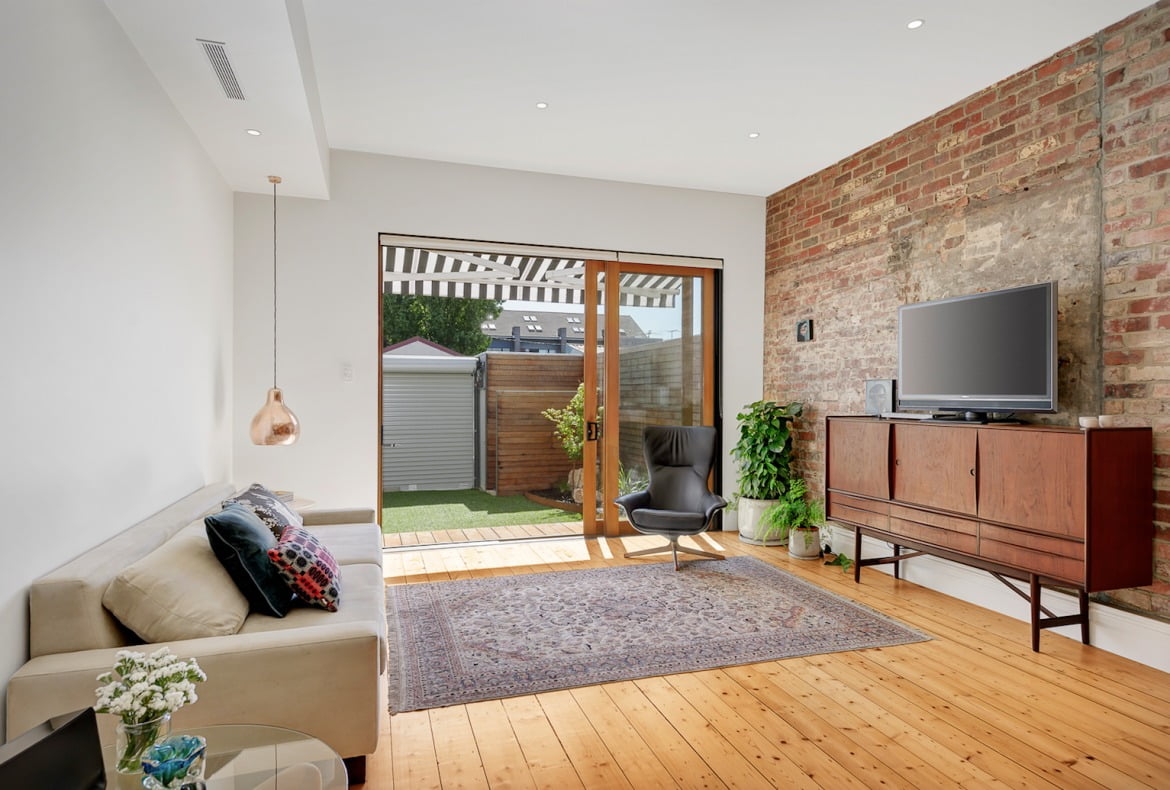
Whether you are a real estate investor or a property manager, you know how crucial it is for you to have your property rented for the maximum time possible and avoid vacancy at all costs. We have researched this topic and among numerous tips we found on the subject – like advertising your property aggressively, streamlining the application process, or creating a waiting list, the most popular tip that kept popping up was to take incredibly great pictures of your property.
In today’s world, most apartment hunters won’t even bother check out the ad if it does not have the pictures. Why are pictures so powerful? First of all, they appeal to the most powerful of our senses – sight. Research has shown that our brain processes images 60,000 faster than text. Great pictures will get you more appointments. They also show that you will go an extra mile for them. And most of all, photos establish trust. You can talk all you want in the ad how great and beautiful your property is, but only pictures will show the truth.
So with all that being said, let’s discuss what it takes to make incredible pictures that will keep people lined up for your property.
Clean up the property
It is easier to clean the property before the photo shoot, then trying to clean up the photos in Photoshop. In some case you will have to move unwanted objects from room to room if you have too much clutter. Consider hiring a professional cleaning company if the property is in bad condition. It will pay off in saved vacancy fees.
You should be comfortable with the camera
Apart from obvious advice of using the best camera you can afford, we also want to advise you to get used to the camera to feel at ease when you make your shots. In the real estate business, pictures are of outmost importance. They are a deal breaker. So don’t try to save on the investment of a camera. If you can’t afford a professional camera at the moment, consider borrowing it from friends or renting it, or at least buying the best one you can afford among digital cameras. Do your research and ask professionals. Once you have your camera, try it out for a couple of days and take various photos before you come to the property for a photo shoot. You need to be comfortable with it and know all its features.
Take plenty of photos
Take as many photos as you can so you don’t need to come back again. Shoot from different viewpoints, at different heights, with different camera settings with different white balance. When you look at the photos at home, you will see that the room looks more appealing from certain viewpoints. In some cases, moving furniture around might be required to make each shot perfect.
Use the most flattering viewpoints
Stay low! Having camera positioned at waist or chest level usually produces best shots of the interiors. Pay attention to unwanted objects, like nasty socks on the armchair! If this is doable, try to remove them physically during the photo shoot. If not, you can get rid of them in Photoshop.
Set horizon line straight
Make sure your horizon line is horizontal. This concerns all horizontal lines – they all need to be horizontal. Forget about lighting, angles, this is the most important tip! All vertical lines must be vertical. Doors, walls, window frames – all need to be perfectly vertical.
Don’t use flash and stay out of mirrors
Avoid using flash at all times possible. This is especially important in rooms with mirrors. A flash-light reflects in mirrors and does not make a good photo. Also, try to avoid being visible in the mirrors. You will not be able to fix it with the Photoshop; and these don’t make very good photos and look unprofessional.
Photograph less
It’s more beneficial to show small amount of room in a frame instead of trying to include everything. Make two shots one with more space included, and one with less space included, and see for yourself. At the same, when it comes to bathrooms and other tiny spaces, try to shoot from as far away as possible. If necessary shoot from the doorway, while making sure that the doorframe is not visible.

